
Like building a house from the ground up, setting up a Lightning node on a Raspberry Pi might seem complex at first, but it doesn’t have to be. With user-friendly tools and clear steps, you can establish your own Lightning network gateway without writing a single line of code. Curious about how simple it can be to get started and what benefits it offers? Keep going to find out how you can do this yourself.
Key Takeaways
- Use user-friendly interfaces like Umbrel or Alby Hub to set up and manage your Lightning node without coding.
- Flash Raspberry Pi OS, install Bitcoin Core, and sync the blockchain, following step-by-step guides.
- Install a GUI-based Lightning node software such as Umbrel or myNode for easy configuration.
- Connect your Raspberry Pi to the internet via Ethernet for stable syncing and operation.
- Secure your node with strong passwords, regular backups, and monitor via dashboards without needing command-line skills.

Setting up a Lightning node on a Raspberry Pi is an accessible way to participate in the Bitcoin network and enable fast, low-cost transactions. With the right hardware and software, you can run your own node without needing coding skills. Start by choosing a Raspberry Pi 4 or 5 model for ideal performance and compatibility. While the Pi Zero 2W can work, it requires a different setup and isn’t recommended for blockchain storage or high transaction volumes. You’ll also need at least a 4GB RAM Raspberry Pi and a 64GB or larger SD card to store the operating system and software. For storing the Bitcoin blockchain, an external SSD or a powered hard drive with 1TB or more capacity is highly recommended, since the blockchain can grow beyond 300GB and beyond. Use a reliable charger with at least 2.5A and verify your power supply can handle peripherals like external drives. Connecting to your network via Ethernet is preferable for faster, more stable syncing, but Wi-Fi works if Ethernet isn’t available.
Next, prepare your SD card by flashing Raspberry Pi OS using the Raspberry Pi Imager tool. This guarantees your Pi boots with a Linux environment suitable for running the node. Enable SSH during setup to access the terminal remotely, which simplifies ongoing management. Install Bitcoin Core, the full node software that syncs the entire Bitcoin blockchain, which is essential for the Lightning Network to operate. Once Bitcoin Core is running and synchronized, install the Lightning Network Daemon (LND)—a popular and widely supported implementation. Creating a Lightning wallet is straightforward; you can do this via command line or graphical interfaces once the daemon is active, allowing you to manage your funds and channels.
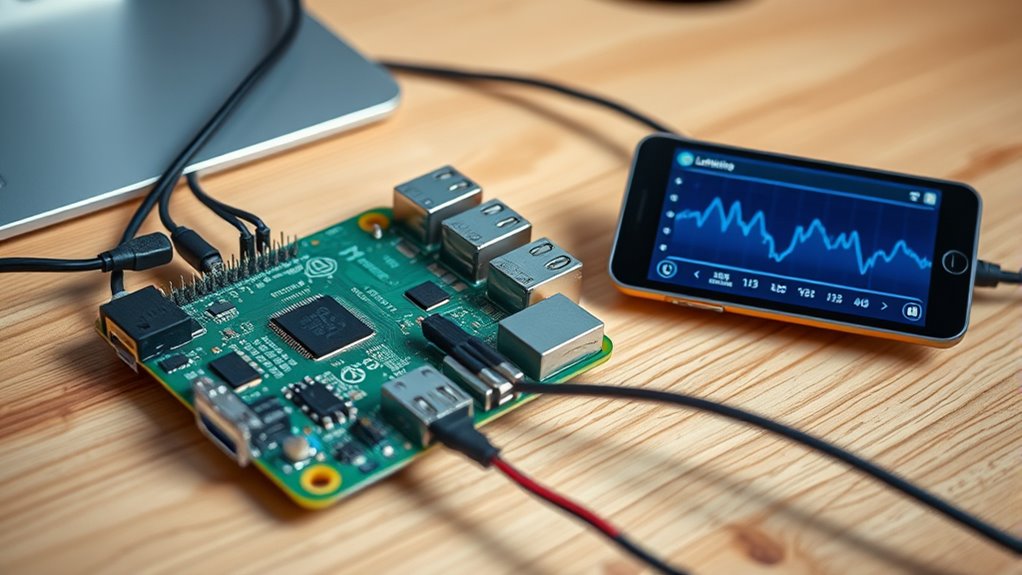
Understanding blockchain storage and capacity is crucial for ensuring your node functions smoothly and can handle future growth. Configuring your node involves editing the lnd.conf file to customize network settings, wallet options, and peer connections. During setup, assign a hostname and secure admin credentials to safeguard your node. Use dashboards like Alby Hub or Umbrel to monitor your node’s status, check channel capacity, and view transactions—these interfaces make managing your node much easier. Enable auto-connection to Lightning peers to keep channels active and liquid. Regularly backing up your wallet seed and node data is essential to prevent data loss from hardware failure or corruption.
Raspberry Pi 4 for Bitcoin Lightning Node
As an affiliate, we earn on qualifying purchases.
As an affiliate, we earn on qualifying purchases.
Conclusion
With a little guidance, you’ve gently opened the door to the world of Lightning, turning a simple device into a gateway of possibilities. No coding required—just patience and curiosity. As you continue to explore this new landscape, remember that every step you take deepens your understanding and confidence. Soon, you’ll find yourself steering with ease, discovering the vast potential that lies just beyond the horizon of your Raspberry Pi.
external SSD for Raspberry Pi blockchain storage
As an affiliate, we earn on qualifying purchases.
As an affiliate, we earn on qualifying purchases.
Raspberry Pi OS flashing tool
As an affiliate, we earn on qualifying purchases.
As an affiliate, we earn on qualifying purchases.
Lightning Network node management software
As an affiliate, we earn on qualifying purchases.
As an affiliate, we earn on qualifying purchases.